Sandstone Patio Jointing and Pointing Made Easy: Tools, Methods, and Tips
Sandstone Patio Jointing, Transforming your garden with a sandstone patio is one of the best investments you can make. It's durable, looks high-end, and adds a natural warmth to your outdoor space. However, many homeowners find that after a year or two, their beautiful stone starts to wobble, or weeds begin poking through the gaps.
The secret to a patio that lasts decades isn't just the stone itself—it's the pointing (also known as jointing).
In this guide, we're breaking down everything you need to know about sandstone patio jointing. We'll skip the gatekeeping and the overly complex jargon to give you a straightforward, DIY-friendly roadmap to a professional finish.
What Exactly is Jointing and Pointing?
Before we dive into the "how," let's clarify the "what."
- Jointing: This is the process of filling the gaps between your paving slabs.
- Pointing: This technically refers to the finish applied to the surface of the joint.
In casual conversation, most people use these terms interchangeably. Whatever you call it, the goal is the same: to create a weather-tight seal that prevents water from getting under the slabs (which causes shifting) and stops weeds from turning your patio into a jungle.
The Essential Toolkit
Choosing Your Material: Which Method is Best?
- The Traditional Mortar Mix
This is the "old school" way. You mix sand and cement (usually at a 3:1 or 4:1 ratio) with a little water to create a damp, dough-like consistency.
- Pros: Very cheap and incredibly strong.
- Cons: It's messy. If you get wet cement on the face of your sandstone, it can leave permanent white stains (efflorescence).
- Polymeric "Brush-In" Sand
This is the modern DIYer's best friend. It comes in vacuum-sealed tubs. You simply pour it onto the patio, sweep it into the cracks, and it hardens when it reacts with the air or when you mist it with water.
- Pros: Fast, clean, and flexible (less likely to crack).
- Cons: More expensive than sand and cement.
- Two-Part Resin
This is the heavy-duty version of the brush-in sand. You mix a resin and a hardener with specialized sand.
- Pros: Permeable (allows water to drain through) and rock-hard.
- Cons: Can be tricky to mix and has a short "working time" before it sets.
Step-by-Step: How to Point Your Sandstone Patio
Step 1: Preparation is Everything
You cannot point a dirty patio. Use a leaf blower or a stiff brush to remove every bit of dust, leaf litter, and debris from the joints. If the joints are damp, check the instructions on your product—some require the stone to be bone dry, while others (like some brush-in compounds) actually work better if the stone is wet.
Step 2: The Filling Process
- If using Mortar: Use your trowel to press the mix into the gaps. Don't just "drop" it in; pack it down firmly to ensure there are no air pockets.
- If using Brush-In Sand: Pour the sand in small heaps. Use a soft broom to move the sand diagonally across the joints. This ensures the gaps fill from the bottom up.
Step 3: Compacting the Joints
Once the gaps look full, they actually aren't. There's a lot of air in there. Use your pointing iron or the edge of your trowel to press the material down. You'll notice the level drops. Add more material and repeat until the joint is flush (or slightly recessed) with the stone.
Step 4: The Finishing Touch (Striking)
This is where you make it look professional. Run your jointing iron along the filled gaps. This creates a smooth, slightly concave "U" shape. This shape is brilliant because it sheds water away from the edges of the stone and looks incredibly neat.
Step 5: The Big Clean-Up
If you leave excess material on the surface of the sandstone, it will bond to the texture of the stone and look terrible.
- For Mortar: Wait about 30–60 minutes until it's "thumb-print hard," then gently brush away the excess.
- For Brush-In: Sweep the patio thoroughly with a soft brush immediately after filling.
Pro Tips for a Flawless Finish
Watch the Weather: Never start pointing if rain is forecast within 24 hours (unless using a specific "all-weather" resin). Similarly, avoid working in direct, mid-day sun, as the heat can make mortar dry too fast and crack.
- Seal Before You Point: Sandstone is very porous. If you're using a dark-colored mortar, it can "bleed" into the edges of the stone. Applying a stone sealer before jointing acts as a mask and makes cleanup much easier.
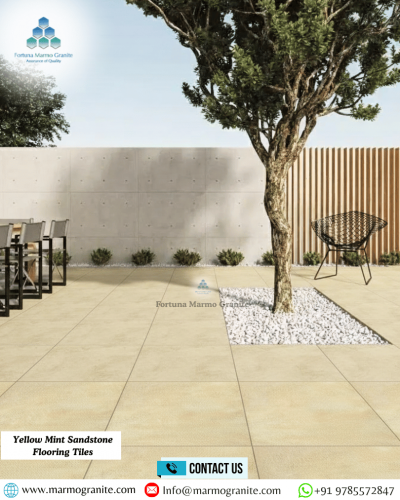
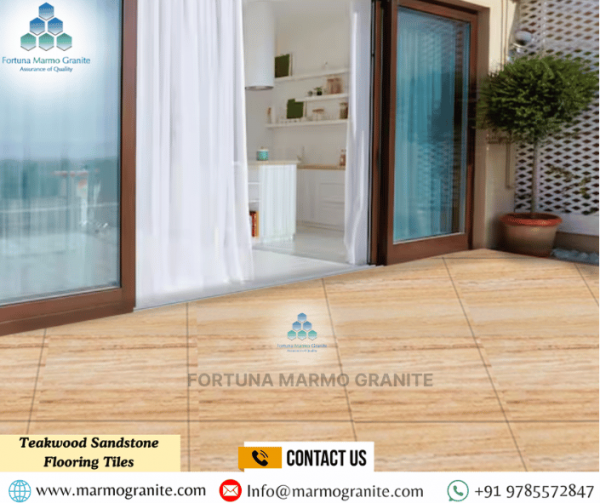
- Color Match: Sandstone comes in various shades (Grey, Raj Green, Kandla Grey). Choose a jointing color that complements it. A buff/beige sand looks great with warm tones, while a flint or silver-grey looks best with cooler stones.
- Don't Overfill: Try to keep the jointing material about 2mm below the surface of the stone. This prevents the edges of the "joints" from chipping off when you walk on them.
Common Mistakes to Avoid
- The "V" Joint: Don't just smear a thin layer of mortar over the top of a deep gap. This is called "fettling" and it will pop out after the first frost. The jointing must go the full depth of the slab.
- Using a Power Washer Too Soon: After you finish, give the patio at least two weeks to fully cure before you even think about bringing out the pressure washer. Even then, keep the nozzle away from the joints!
- Mixing Small Batches: If you're mixing your own mortar, try to be consistent with your measurements. If one batch has more cement than the next, the colors will look different once they dry, leaving your patio looking patchy.
Conclusion
Creating a long-lasting and visually appealing sandstone patio becomes simple when you use the right jointing and pointing tools, follow proper techniques, and apply quality materials with care. Well-filled joints not only enhance the overall finish but also improve stability, prevent weed growth, and protect the patio from water damage and weathering.
By choosing suitable methods and maintaining consistency during application, you can ensure a clean, durable surface that stands the test of time with minimal maintenance. For premium natural stone products and reliable expertise for all your paving and landscaping needs, Fortuna Marmo Granite delivers superior craftsmanship and dependable solutions to help you achieve flawless outdoor spaces.
")