Marble Countertop Care: Repairing Cracks for Long-Lasting Beauty
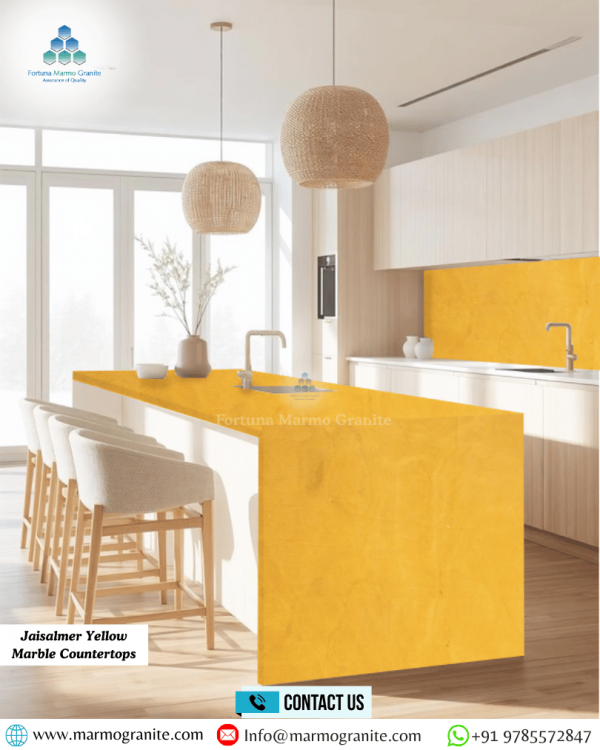
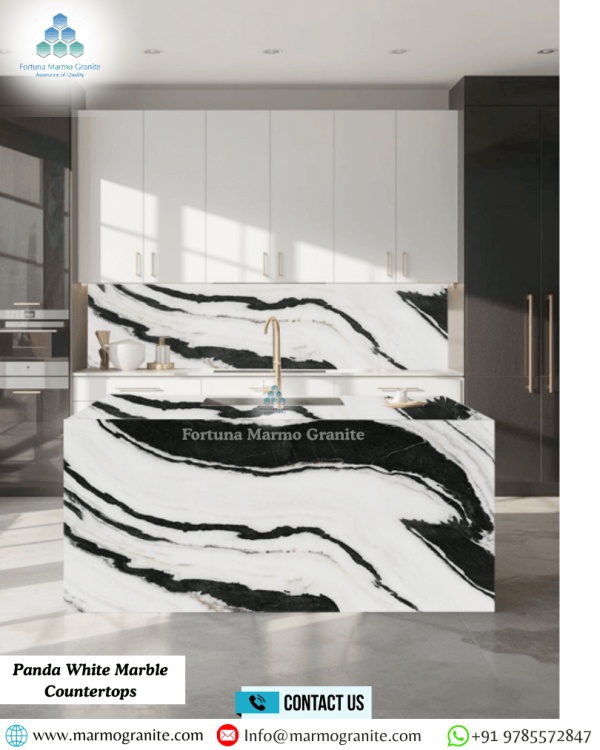
Marble Countertop Care Guide, There is something undeniably timeless about a marble countertop. Whether it's the cool touch of the stone or those elegant grey veins dancing across a white surface, marble brings a level of luxury to a kitchen or bathroom that few other materials can match.
Indian Marble Supplier, However, marble is also a bit of a "diva." It's a natural, porous stone, which means it requires a little more love and attention than granite or quartz. One day you're admiring your morning coffee on the counter, and the next, you notice a hairline fracture or a visible crack.
Marble Countertop Care Guide, Don't panic! A crack doesn't mean your beautiful investment is ruined. With the right approach, you can repair these imperfections and keep your marble looking stunning for decades.
Why Does Marble Crack in the First Place?
Before we jump into the "how-to," it's helpful to understand the "why." Marble is a metamorphic rock, which essentially means it was forged under intense heat and pressure deep within the earth. While it is hard, it is also brittle.
Common causes for cracks include:
- House Settling: As houses age, they shift. If your cabinets move even a fraction of an inch, it can put stress on the stone.
- Heat Shock: Placing a piping hot pan directly from the stove onto a cold marble surface can cause "thermal shock," leading to a crack.
- Impact: Dropping a heavy cast-iron skillet or a glass bottle on the edge can chip or crack the stone.
- Improper Installation: If the cabinets aren't perfectly level, the marble won't have even support, creating "stress points" that eventually give way.
Step 1: Assessing the Damage
Hairline Cracks
These are thin, barely visible lines that you can't really feel with your fingernail. They are usually aesthetic and don't threaten the structural integrity of the counter. Often, these can be hidden with a good sealer or a color-matched wax.
Separated Cracks
If you can see a gap or if the stone feels uneven on either side of the line, you have a separated crack. This requires a filler—usually an epoxy or resin—to bond the pieces back together and prevent moisture from seeping in.
Chips and Pit Marks
These aren't cracks, but they are repaired using similar methods. These usually happen on the edges of the sink or the corners of the island.
Step 2: Gathering Your Repair Kit
You don't need a degree in masonry to fix a marble crack, but you do need the right tools. Most of these can be found at a local hardware store or ordered in a "Marble Repair Kit."
- Acetone or Denatured Alcohol: For cleaning the area.
- Two-Part Epoxy or Polyester Resin: Look for one specifically labeled for stone.
- Stone Pigments: To match the color of your marble.
- Single-Edge Razor Blades: For scraping off excess glue.
- Sandpaper: Various grits (from 400 up to 1500 or 2000 for polishing).
- Masking Tape: To protect the surrounding area.
Step 3: The Repair Process (A Step-by-Step Guide)
- Clean the Area Thoroughly
The biggest reason repairs fail is because of dust or grease. Use a soft brush to get any debris out of the crack, then wipe it down with acetone. Acetone evaporates quickly and removes oils that would prevent the epoxy from sticking.
- Protect the Surroundings
Apply masking tape along both sides of the crack, leaving just a tiny sliver of the stone exposed. This saves you a massive amount of cleanup work later.
- Mix and Tint Your Epoxy
This is the "artistic" part. Most epoxies come in two parts (a resin and a hardener). Before mixing them, add a tiny bit of pigment to the resin to match your marble.
Pro Tip: Always go slightly lighter than you think you need. It's easier to hide a light line than a dark, muddy one.
Once you have the color right, mix in the hardener according to the package instructions.
- Fill the Crack
Use a small spatula or a wooden craft stick to press the epoxy into the crack. Don't just lay it on top; really push it in there. Leave a slight "mound" or overfill it just a bit, as the epoxy may shrink slightly as it cures.
- Level it Off
While the epoxy is still "gel-like" (usually 15–20 minutes in), you can carefully use a razor blade held at a 45-degree angle to shave off the excess. If it has already hardened completely, you'll need to wait and sand it.
- Sand and Polish
Once the epoxy is fully cured (usually 24 hours), use wet sandpaper to smooth the area. Start with a lower grit (like 400) and move up to the fine grits (1500+). This will bring back the shine and make the repair flush with the rest of the counter.
Step 4: Long-Term Maintenance and Prevention
Now that your counter is back to its former glory, how do you keep it that way? Prevention is much easier than repair.
- Seal Your Marble: Think of sealer like a raincoat for your stone. It doesn't make it "bulletproof," but it buys you time to wipe up spills before they stain or weaken the stone. You should seal your marble every 6 to 12 months.
- Use Trivets and Coasters: Never put a hot pot directly on the marble. Use a wooden or silicone trivet. Similarly, use coasters for drinks—especially wine or citrus juices, which can "etch" (dull) the surface.
- Avoid Harsh Chemicals: Bleach, vinegar, and ammonia are the enemies of marble. They eat away at the surface. Stick to pH-neutral cleaners or just warm water and a drop of dish soap.
- Don't Sit on the Counter: It might be tempting to hop up on the island to chat, but concentrated weight in the center of a slab is a leading cause of major structural cracks.
When to Call a Professional
We love a good DIY project, but sometimes you have to know when to put down the tools. You should call a stone restoration professional if:
- The crack goes all the way through the slab.
- The marble is physically sagging or uneven.
- The crack is in a high-stress area, like right over the dishwasher or near a cooktop.
- The marble is a rare or very expensive variety where you don't want to risk a color-match mistake.
Professionals have specialized machines that can diamond-polish the entire surface, making the repair virtually invisible even under direct light.
Conclusion
In conclusion, proper care and timely repair of cracks are essential to preserving the beauty and longevity of marble countertops. Addressing minor damages early, using the right repair techniques, and maintaining regular cleaning and sealing routines help prevent further deterioration while keeping the surface smooth and elegant.
Marble Countertop Care Guide, With consistent maintenance, marble countertops can retain their natural charm and durability for years to come. For high-quality marble solutions and expert craftsmanship you can rely on, Fortuna Marmo Granite offers premium stone products and dependable service to ensure lasting beauty and performance in every space.
")